Default SuperAdmin login details
Email: superadmin@example.com
Password: 123456
1. Login to super admin account

2. Superadmin dashboard
Update currency exchange rate
Update current website URL/Link
Apply date filter for reports
It show total active/inactive companies, total customers and total categories
To task panel
It show total earning report
It show total sales report
It shows total commission revenue
It show total new customers as per date
It show total new vendors as per date
3. Manage Companies

Register new company
Change package of company
Update details of a registered company
View company details
Superadmin can delete company
4. Manage Packages

Setup Trial package Settings
Setup Default package (This package will be applied by default for a newly registered company).
Create New package as per your requirements.
5. View/Download Invoices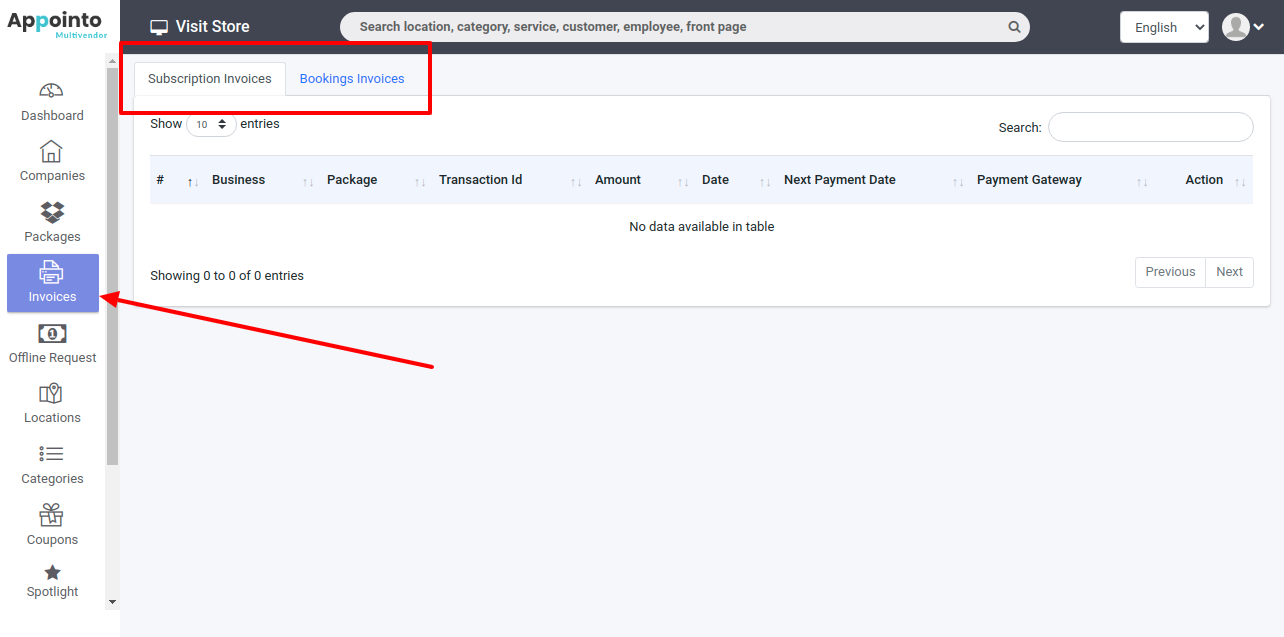
Subscription invoices :- you can find all monthly/yearly package subscription invoices here
Booking Invoices:- If admin/vendor haven't updated/linked payment details then all online bookings payment will be credit to superadmin/siteowner payment gateway account and to maintain this record booking invoices will be generate automatically.
6. Manage Offline Request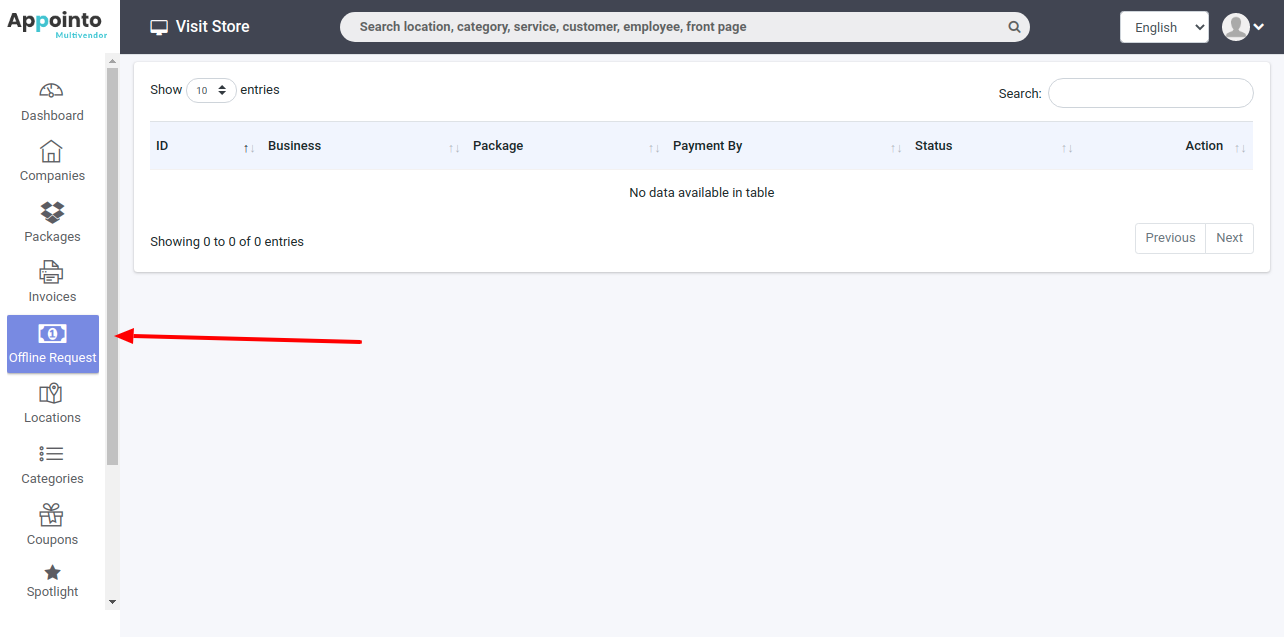
If any admin/vendor wants to pay monthly/yearly package subscription payment offline (like- by cheque) the vendor submit request with cheque photo and superadmin accept or reject offline request from this menu.
7. Manage Location

Setup default Location as per your location
Add more locations if required
Add/Edit/Delete locations.
8. Manage Categories

Setup Service Categories ( In these category admin will add services ).
9. Manage Coupon
- Add discount coupon
- Edit discount coupon
- Delete discount coupon
10. Manage Spotlight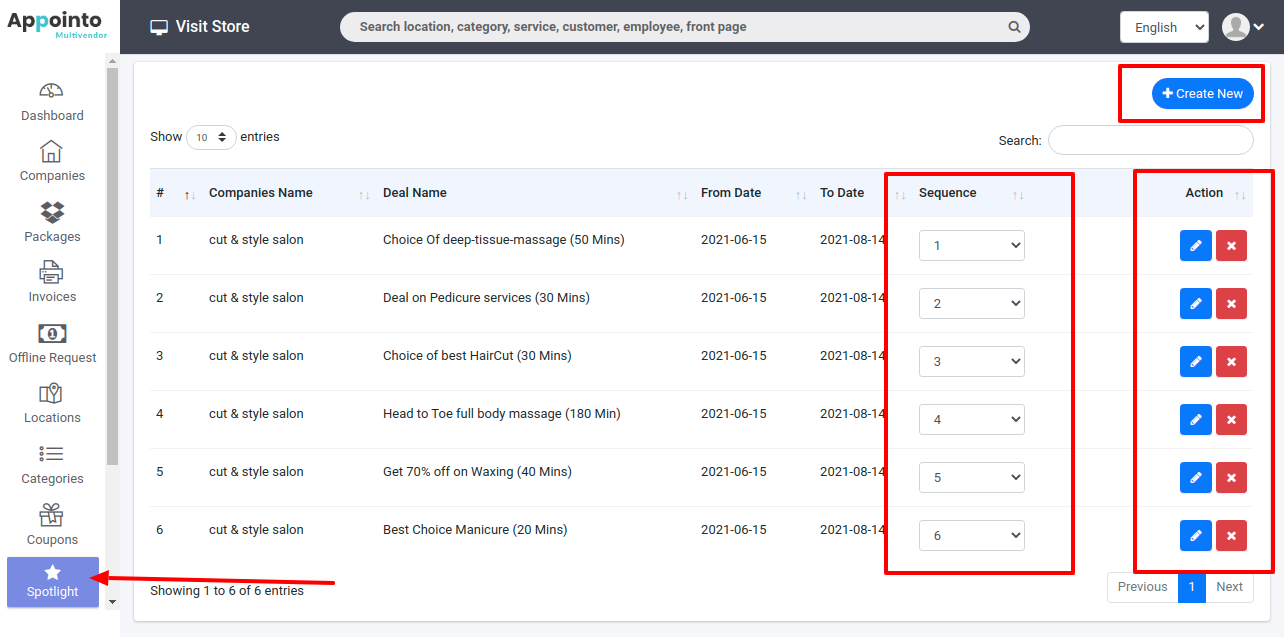
- All spotlight deals will be display on front page of your website
- You can change sequences of the spotlight
- Create new If you want to add deal in spotlight of any admin/vendor
- You can update/delete spotlight.
11. Manage ToDo Tasks
- Keep you notes in todo
- You can create new todo task
- You can change status of todo task
- You can edit/delete todo task
12. Reports
- Commission revenue: - Get you commission revenue
- You can download csv file
- Customer report: - Get all customers detail with total booking number
13. Settings
13.1 General Settings
- Update business details of your business in general settings
- Recommended Business logo size is width-150 pixels and height 41 pixels
- Update your current business website.
13.1 Currency Settings
Manage Currency Details in Settings -> Currency Settings

- Don't forget to update currency exchange rate.
13.2 Language Settings
Setup Language Details in Settings -> Language Settings

Add/update/delete languages.
Add translations - Go to Superamin panel Settings -> Language Settings and click the Translation button
When you have imported your translation (via buttons), you can view them in the web interface. You can click on a translation and an edit field will pop up. Just click save and it is saved. When a translation is not yet created in a different locale, you can also just edit it to create it.
13.3 Email Settings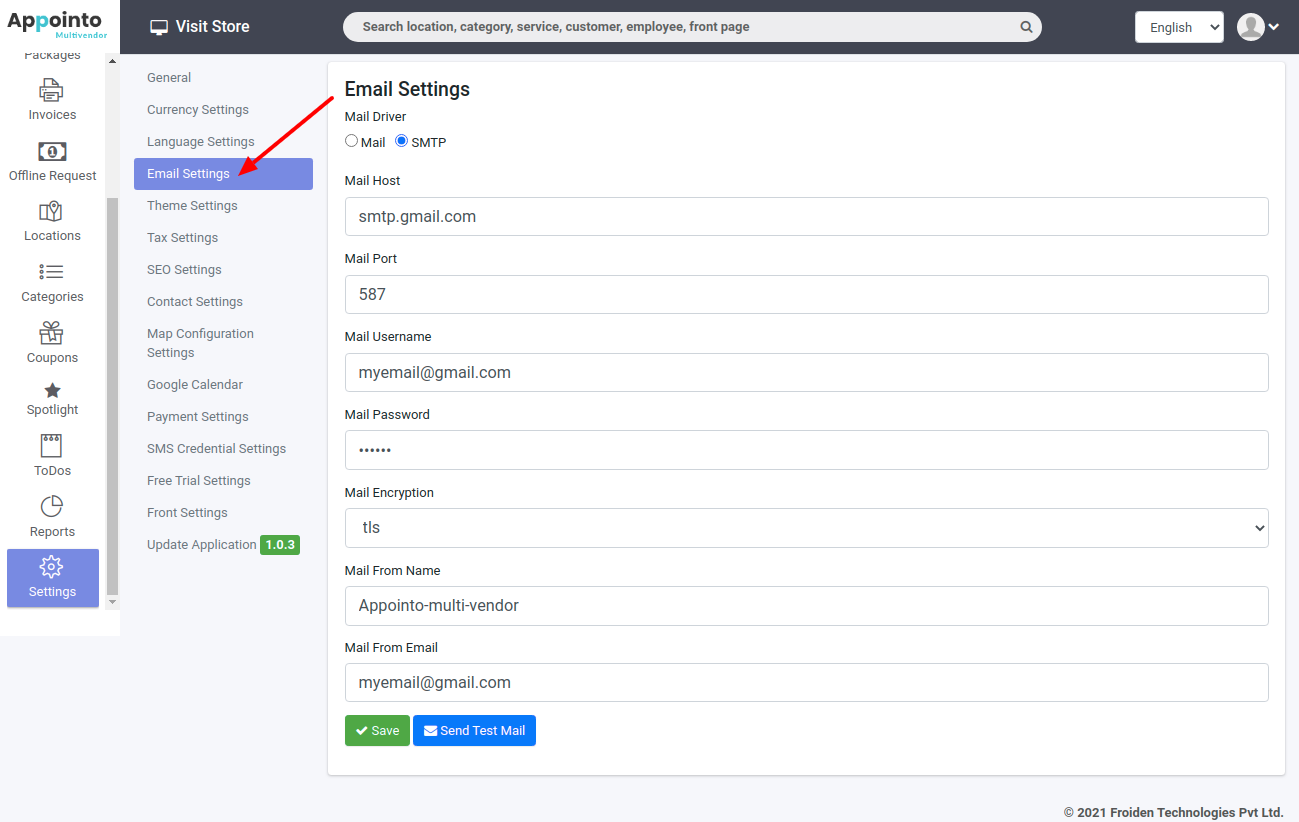
- Update your email settings
13.4 Email Settings
Manage Theme Settings in Superadmin panel Settings -> Theme Settings

- Update theme superadmin theme settings
- Update default theme settings for Admin
13.5 Tax Settings
Manage Theme Settings in Superadmin panel Settings -> Tax Settings

- Add taxes as per your admin/vendor requirements
- Update/Delete tax
13.6 SEO Settings
Setup SEO Details in Superadmin panel Settings -> SEO Settings

- SEO Keywords and descriptions make easy to find your business on internet.
13.7 Contact Settings
Setup Contact Us Email Address in Superadmin panel Settings -> Contact Settings

- This contact us email id will help you to connect with new vendors.
13.8 Map Configuration Settings
Setup Google Map Key in Superadmin panel Settings -> Map Configuration Settings

13.9 Google Calendar
Setup Google Calendar client id and secret in Superadmin panel Settings -> Google Calendar

- Configure google calendar to get event detail on customer's google calendar account.
13.10 Payment settings
Setup your Payment details in Superadmin panel Settings -> Payment Settings
Enable the Offline Payment Method to allow customers to make the purchase without paying online.
Enable Show Payments Options Should be enabled to allow online payments from customers.
13.10.1 Payment Credentials settings
Setup your Payment Gateway details in Superadmin panel Settings -> Payment Credentials Settings

There are 2 online payment gateways Stripe and Razorpay to accept payments
13.10.2 Offline Payment Method
Setup Offline Payment Method in Superadmin panel Settings -> Offline Payment Settings

- To accept payment offline update Offline Payment Method
- Add/update/delete Offline payment methods
13.11 SMS Credential settings
Setup Offline Payment Method in Superadmin panel Settings -> SMS Credential Settings

- Update Nexmo credentials to send booking related and other messages to customers
13.12 Free Trial settings
Update Offline Payment Method in Superadmin panel Settings -> Free Trial Settings

13.13 Front settings
Update Front Settings in Superadmin panel Settings -> Front Settings
13.13.1 Section settings
Update section settings in Superadmin panel Settings -> Front Settings-> Section Settings

- Using this section enable/disable you can hide/display these section from front page of your website.
13.13.2 Front Pages
Setup Front pages in Superadmin panel Settings -> Front Settings-> Front Pages

13.13.3 FAQ Settings
Setup FAQ Settings in Superadmin panel Settings -> Front Settings-> FAQ Settings

13.13.4 Registration Note
Update Vendor Registration Note in Superadmin panel Settings -> Front Settings-> Registration Note

13.13.5 Terms & Condition Note
Update Terms & Condition Note in Superadmin panel Settings -> Front Settings-> Terms & condition Note

13.13.6 Front Slider Settings
Setup Front Slider Images from Superadmin panel Settings -> Front Settings-> Front Slider Settings

- Recommended Image size is width 1919 pixels and height 494 pixels.
13.13.7 Front Theme Setting
Setup Front Theme from Superadmin panel Settings -> Front Settings-> Front Theme Settings

- Recommended Business logo size is width-150 pixels and height 41 pixels.
13.13.8 Popular Store Settings
Setup Popular Stores Section from Superadmin panel Settings -> Front Settings-> Popular Stores Settings

- You can add/remove any store/vendor from popular store
- Popular store list will display on front page.
13.13.9 Google reCaptcha Credential Settings
Fill Google reCaptcha Credentials from Superadmin panel Settings -> Front Settings-> Google reCaptcha Settings

13.13.10 Front Widget Settings
Add Front Widgets Superadmin panel Settings -> Front Settings-> Front Widget Settings

- These front widget will display in the end of front page.
13.13.11 Footer Settings
Manage Footer Content from Superadmin panel Settings -> Front Settings-> Footer Settings.

Was this article helpful?
That’s Great!
Thank you for your feedback
Sorry! We couldn't be helpful
Thank you for your feedback
Feedback sent
We appreciate your effort and will try to fix the article